Sunday 17 November 2013

I Was Just Totally Clueless

                                     
  Tartan Two-Piece - Love Too True
Boots - Office
Necklaces - eBay/Etsy
Rings - Shop Dixi/H&M/Topshop
Metal Hair Cuff - H&M
Nail Polish - Topshop

As a mahoosive fan of the classic 90's chick flick "Clueless" I was more than excited when the girls at Love Too True sent me this amazing Clueless inspired hand made tartan two-piece, I am so in love with it!

I wore it in London last week and received so many compliments. I believe there is nothing on the high street quite like it, which is why people took such an interest! I wore it with black knee high socks true Clueless style, and grunged it up with buckled ankle boots, dark lipstick, lots of jewellery and my trusty leather jacket.

The founders of Love Too True Laura and Gemma, started their own clothing range when they realised there wasn't many jobs around once they left uni. Taking inspiration from famous fashion trends throughout the 90's such as Clueless, Madonna, grunge, tartan and velvet, the girls behind Love Too True have created some truely unique and one off designs. As well as striving to be a unique clothing brand, they also believe that fashion should be accessible to every girl, which is why their clothing is priced realistically.

Their A/W range will be launching in the next few weeks so make sure you have a nosey! I've already got my eye on this gorgeous black fur handbag...


Image of Black fur bag with gold chain and tartan lining.


CC x  

Monday 14 October 2013

I LOVE Benefit | Part 2

 
 Last week i posted part 1 of my Benefit make up review and step-by-step of my daily make-up routine, and now here is part 2!
 
So to pick up where i left off, i had just applied my winged eyeliner and Benefit World Famous Neutrals. As mentioned in the previous post Benefit sent me some goodies to review, one of them being the They're Real Mascara.
 
4) When applying mascara after using liquid eyeliner, i find that it can get on my eyelashes and dry, making it difficult to apply mascara without it clumping.
 
With Benefit's They're Real mascara i found that the brush really seperated my eyelashes without having to apply too much mascara. I only applied a couple of coats and my eyelashes were seperated and lengthened rather nicely! I feel like if i wanted to apply more for an eveing look it would still keep my eyelashes seperated, but give me a more thicker glamorous look.  
 
 
5)Now my eye make-up is complete, i next touched my foundation up beneath my eyes to cover any fallen eyeshadow. I then applied a thin dusting of Bobbi Brown bronzer all over my face.
 
Next i used the last product Benefit sent me to review; Rockateur highlighting powder. I have always loved Benefit's High Beam and Sun Beam liquid highlighter, so i was excited to try a powder version. Before you even use the product, the cute packaging and mini brush had already won me over!


I applied the powder to the tops of my cheekbones and found it gave a gorgeous but subtle and natural sheen to my skin. I have since used it everyday as it makes my skin glow, but doesn't look too much for day time.


6) Now my eyes and face are complete, the last thing to apply is my lipstick. I used Mac Pro Longwear Lipcreme in Perpetual Flame and matching lip liner. I wouldn't normally wear this lipstick in the day time as it is quite heavy, but i just wanted to show you it as it's my favourite at the moment!


And here is the final look!


I absolutely love my Benefit goodies and definitely intend on trying other Benefit products in the future.
 
I hope you found this two-part make-up post interesting/informative!
 
Hope everyone is having a good Monday :)
 
CC x  

Sunday 6 October 2013

I LOVE Benefit | Part 1

 
So this week Benefit very kindly sent me some goodies to blog about, how exciting is that?! I have always liked Benefit, but over the last year i have grown to love them as i have become more experimental and interested in make-up (plus the packaging is so preeeetttyyyy!!).
 
As well as testing the make-up they sent me, i am also going to do a step-by-step of how i apply my make-up due to getting asked quite often how i do my eyeliner and eyeshadow etc. It will be in two parts due to how long the post is!

Here is all the make-up i will be using...
 
 
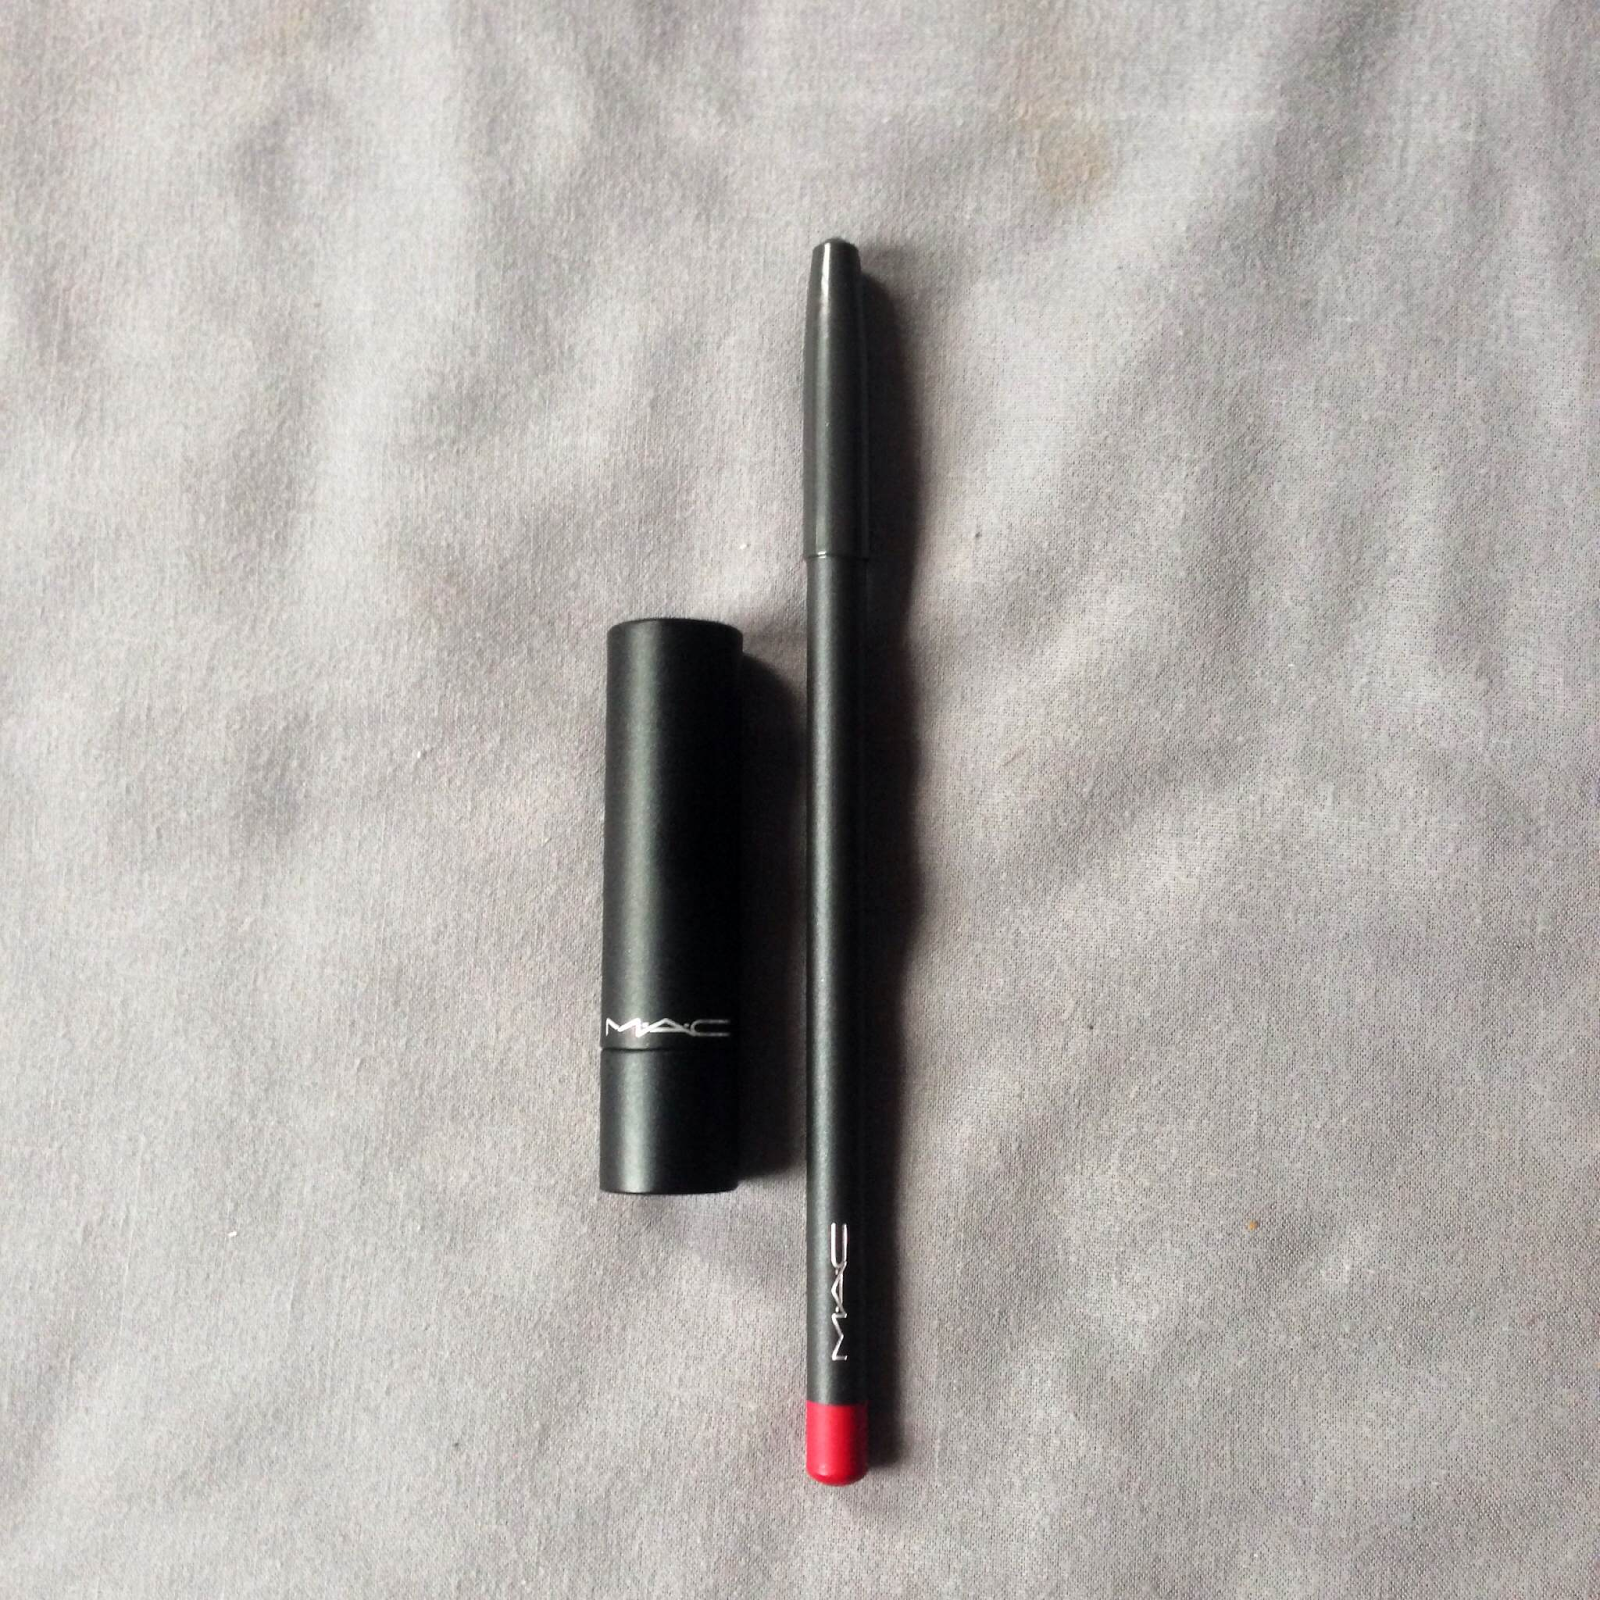
(From left to right)Benefit Porefessional, Estee Lauder Double Wear foundation, Benefit Foundation brush, Estee Lauder Touch Eclat, Bobbi Brown Bronzing Powder and bronzer brush, Benefit Rockateur, Benefit World Famous Neautrals, Collection 2000 liquid eyeliner, Benefit They're Real mascara, Rimmel eyebrow pencil, Mac Pro Longwear Lipcreme in Perpetual Flame and matching lip liner.
 
Before i started i applied Dermalogica Intensive Moisturiser to make my skin nice and soft, waiting 5 mins or so to let it soak in. 
 
1) Firstly i began with my base. I could have shown you what i look like completely make-up free, but nobody deserves to see that! For my base i applied Benefit Porefessional mixed with my foundation. You can apply Porefessional before your foundation or on top of it; it helps minimize pores and makes your skin feel and look super smooth and silky. I already had this product before Benefit sent it me, so it's safe to say i am a fan! I also used my Estee Lauder Touche Eclat under my eyes as i had a late one the night before.
 
 
2) Next i applied my eyeliner. I tend to put my powder and blusher on after i've done my eye make-up, as i usually apply more foundation under my eyes to cover any loose eyeshadow that may have fallen.
I get a lot of people asking how i do my eyeliner, but unfortunately it really is practice makes perfect! 8 times out of 10 i do have to use a cotton bud to correct it; a steady hand and a good eyeliner does help though. Expensive eyeliners don't necessarily make it easier to apply either. I use Collection 2000 liquid eyeliner and i swear by it! 


3) Time for the fun part, the eyeshadow! My best friend bought me this cute Benefit eyeshadow kit for my birthday and it is literally amazing. It has a little book which shows you how to do a daytime and evening look with the eyshadows provided, using a combination of cream and powder eyeshadows.


When applying eyeshadow i do highly recommend investing in a good eyeshadow brush kit as it makes all the difference when you're applying it. I have a really good kit from Crown Brush, which was also a really decent price!


Andddd here is the result after following the booklet instructions for a daytime look:
 
 
I had to go over my eyeliner as the eyeshadow did cover it up. You can apply your eyeliner after your eyeshadow if you prefer, but i find it easier to shape the eyeshadow to my eye when i apply my eyeliner first.
 
I love how subtle yet effective the colours look. One thing i do love about Benefit is how their products enhance and highlight your skin to really give you that natural glowing look. I also would have never gone near eyeshadow cream before, but now i have definitely been converted!
 

So that's the end of part 1! Next time i will be testing the Benefit 'They're Real' mascara as well as the Rockateur highlighter, and showing you the final result.
 
I hope you've enjoyed this post! Look out for part 2 :)

CC x


Monday 30 September 2013

Autumn Love


Top & Trousers | Topshop
Shoes | Jeffrey Campbell
Necklace | Primark
Rings | Primark, eBay, H&M 


Autumn is finally here and i'm so happy about it! I love A/W clothes and i have been pretty excited to be putting my winter wardrobe together.
 
The first edition to said wardrobe are my BEAUTIFUL Jeffrey Campbell shoes, which my lovely boyfriend bought me for my birthday. Jeffrey Campbell haven't had much out recently that has got me super excited, until i saw these. As well as making me about 6 inches taller i love the fact that they will literally go with everything in my wardobe. They are also super duper comfy (honest!).
 
My other exciting buy is the leather trousers. I have been after a pair since last winter, and have failed miserably to find a pair that fit me right. So ofcourse Topshop finally came to my rescue! There isn't much give in them but it's not like i'm going to be doing the splits in them any time soon.
 
Finally i am extremely impressed with Primarks' Limited Edition jewellery range, which is where my necklace is from. I do have to be in the right mood to shop in Primark, but it's so worth it when i come out with gorgeous bargains! It goes perfectly with my velvet top and looks way more expensive that it was(It was only £8!).

So i have been off my blogging a lot recently; starting my new job has took a lot of getting used to but hopefully i shall be blogging a lot more from now on!
 
Hope everyone's having a good week :)
 
CC x 

Wednesday 26 June 2013

Outfit Post | An elephant never forgets


Hat | Topshop
Top | Asos
Shorts | Urban Outfitters
Sandals | Asos
Necklace | Topshop
Rings | Asos

 Apologies for the lack of posts lately, I have been making the most of the little time I had left with my boyfriend before he went away to America for 7 weeks *sob* BUT now I have lots of time to do lots of blog posts, starting with a classic outfit post. 

Pretty much everything in this post is brand new. I have been treating myself to some summery clothes as I am going away in 3 weeks, and due to lack of holidays in the last two years I am very excited to buy proper summer attire. I know I still have only bought black and white, but what can I say, it just goes with everything!

 I LOVE LOVE LOVE my elephant print shorts. The style, the print and the material is my idea of a perfect pair of shorts and they are easy to dress up or wear casually. I am in love with anything tribal/african/aztec at the minute, which includes my statement necklace that caters for my grungier side too.

My sandals which are pretty much ankle boots with holes in them (I just love ankle boots that much!) are so up my street and I think are a pretty unusual take on the regular sandal. I have to admit, they aren't that comfy, yet. I don't care though as I love them too much to send back!

I have lots more holiday outfit posts to come up so stay tuned! Due to a few requests, I am also considering doing a tutorial on how I apply my eyeliner. If this is something you would be interested in then please let me know :)

CC x 


Friday 31 May 2013

DIY | Ripped Jeans


After seeing a lot of ripped style jeans in magazines and in the shops lately I have been umming and ahhing about ripping a pair of my own jeans myself, even though I am not the best at DIY or arts and crafts! However after looking at a few tutorials online I mustered up the courage to possibly butcher and ruin a pair of my Topshop Leigh jeans...luckily they survived and here are the results!


So I am now going to explain step-by-step how to re-create this look yourself. If I can do it, a monkey could do it! 

What you need

Jeans
Sharp scissors
Pen
Sand paper
Needle


Mark on the jeans with a pen where you want the rips (marking the jeans whilst you are wearing them is easier and more accurate)


Fold the jeans in the opposite direction of the pen line as shown below, then using the scissors cut the jeans as marked.


Once you have made the slit, use the sand paper to fray the edges. There's no wrong or right way to do this, so just go for it! The more messier the better in my opinion.


You may get long bits of thread and fabric after fraying your jeans so just trim them down to your preferred length with the scissors.


Once you have finished fraying your jeans they should look something like this...


Now if you want to pull the threads out to make them look a bit more naturally ripped, use the needle to  pull out one-by-one the threads until you have the desired effect (excuse my spazzy thumb in the picture below, it's hard taking photos and DIYing your jeans at the same time!)


And that's pretty much it! I have since pulled and ripped my jeans more whilst wearing them, and they should fray a bit more when you wash them. I am even considering putting more rips in my jeans. I hope this post was helpful and interesting! Let me know if you would like to see more DIY posts :)

Hope you all have a good weekend!


CC x